Purpose
This article explains the assembly instructions for an international PicoMarket device. For instructions on the unboxing process for international distributors, please see the article International - PicoMarket - Stand Unboxing for Pico Device Installation.
Tools Needed
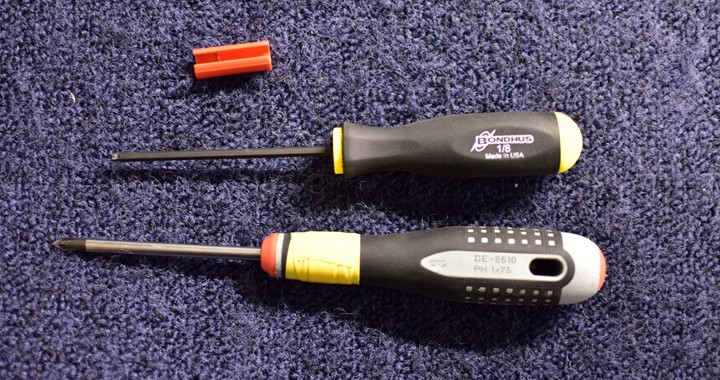
- #1 Phillips-head screwdriver
- 1/8” hex driver
- Antenna bolt tool
Hardware Bag Contents
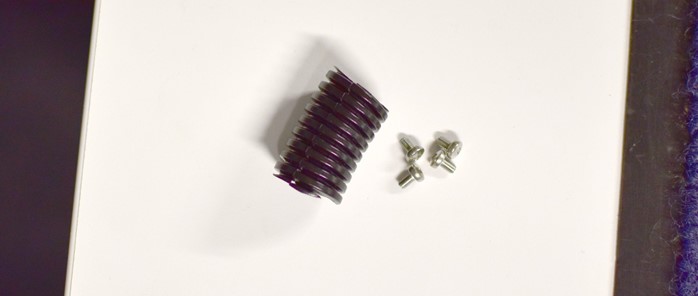
- Four (4) M3 x 5mm screws
- One (1) plastic split wire loom
Process
Step 1
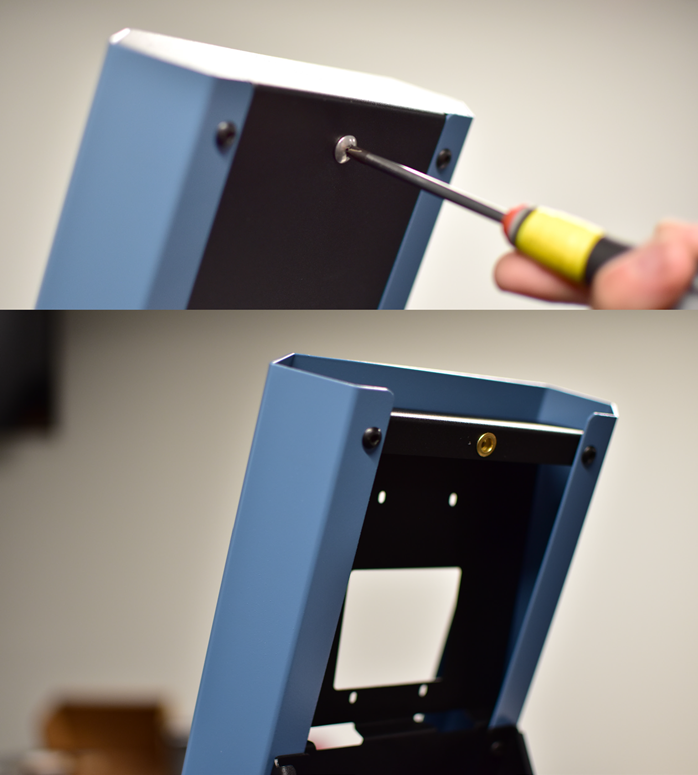
Remove the back cover of the stand by removing four screws with the hex driver.
Step 2
Remove the cover from the PicoMarket housing by removing the Phillips screw.
Step 3
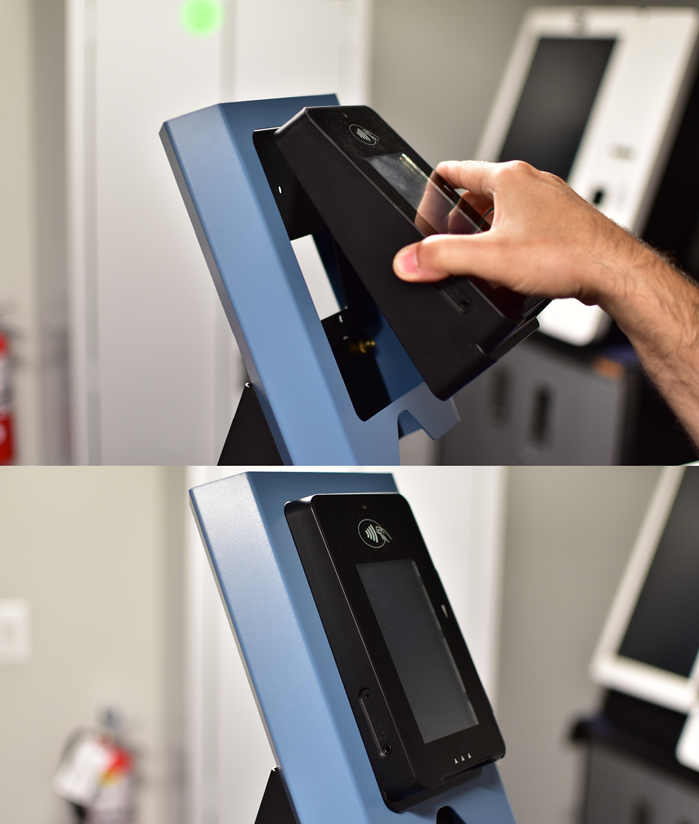
Place the PicoMarket into the slot on the front of the stand.
Step 4
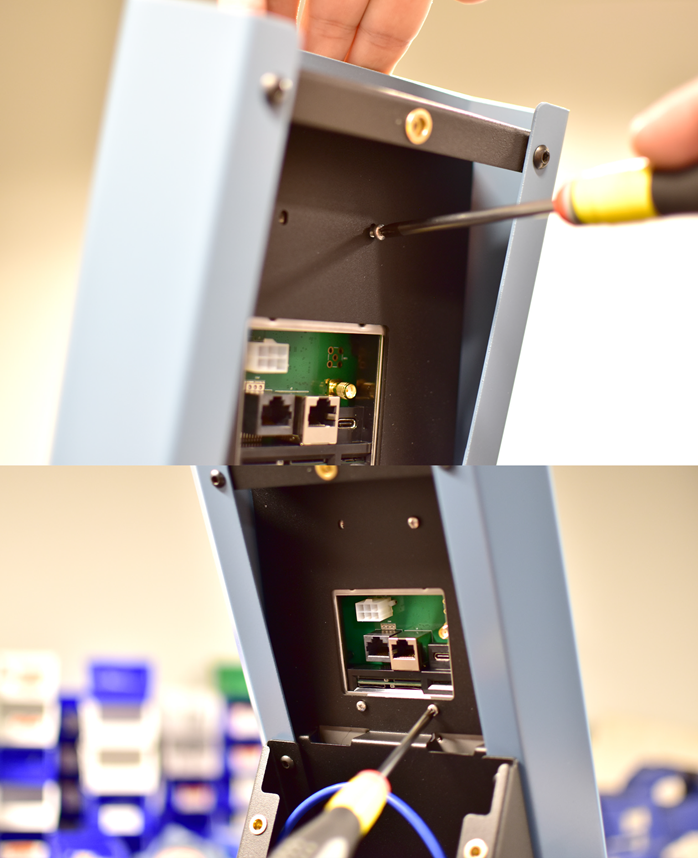
Install the four M3 screws to secure the PicoMarket to the stand.
Step 5
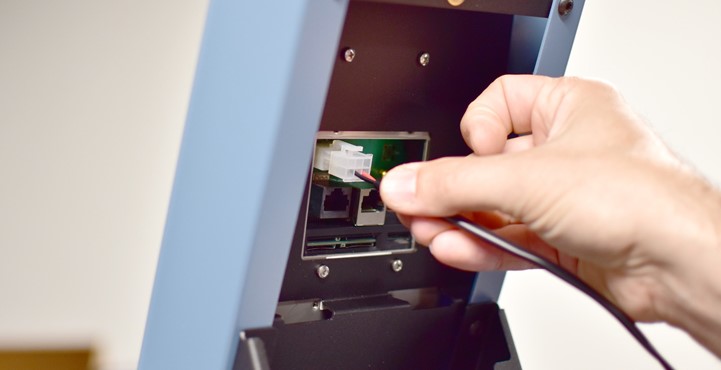
Plug the Molex power cable into the PicoMarket.
Step 6
Plug the Ethernet cable into the Ethernet port.
NOTE: Ensure you are plugging the Ethernet cable into the correct port. Failure to do so will result in a lack of network connectivity if you choose to use Ethernet.
Step 7
Use the antenna tool to screw in the mini coax antenna cable.
NOTE: At this point, you may wish to test the PicoMarket by plugging in the power cable to ensure all functionality before closing the cables up.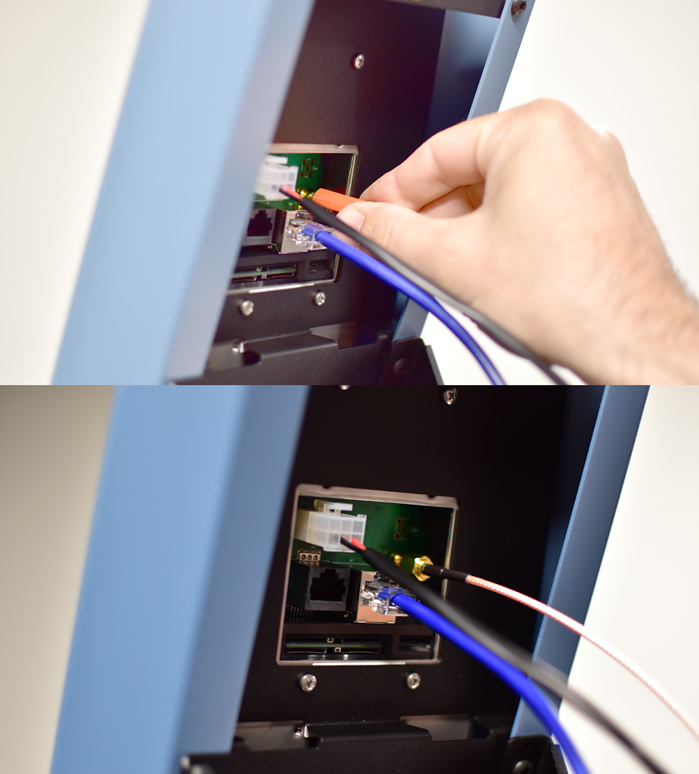
Step 8
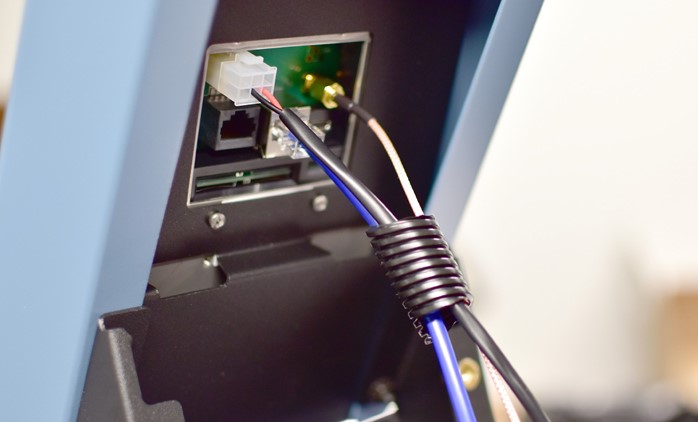
Fit the wire loom over the cables.
Step 9
Reinstall the PicoMarket backplate and insert the Phillips screw.
Step 10
Ensure all cables are tucked inside the PicoMarket stand and reinstall stand backplate and screws.