Introduction
Various improvements or changes will sometimes be made to the Android operating system running on AirVend units. This article will go over the steps to ensure your device is using the latest version of firmware.
OTA Update
There are two methods of performing an OTA update:
- Installing it over WiFi.
or - Installing through USB.
The update file is too big to be performed over cellular data. The AirVend device will kick out an error if you attempted the update over cellular data.
Connect to a WiFi network
For step-by-step instructions on connecting an AirVend device to a WiFi network, click here.
If WiFi is unavailable, see the section at the bottom of this document titled OTA Update via USB.
Logging in
- Login in to the Operator Admin page.
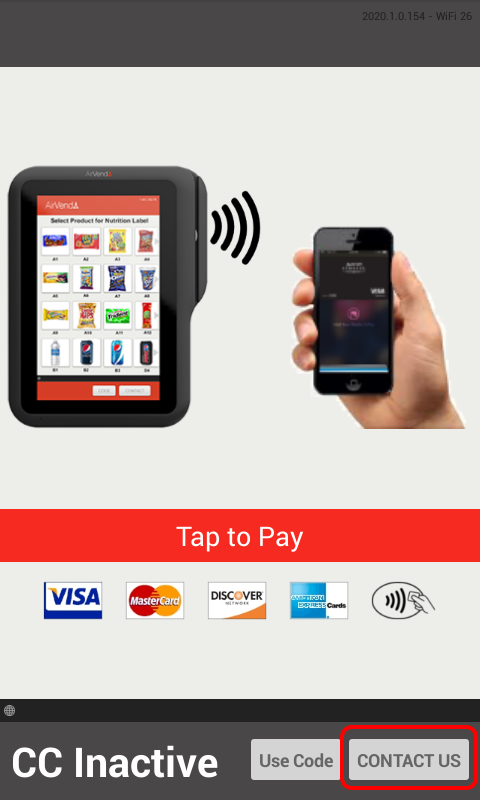
- Click Contact Us in the Planogram screen.


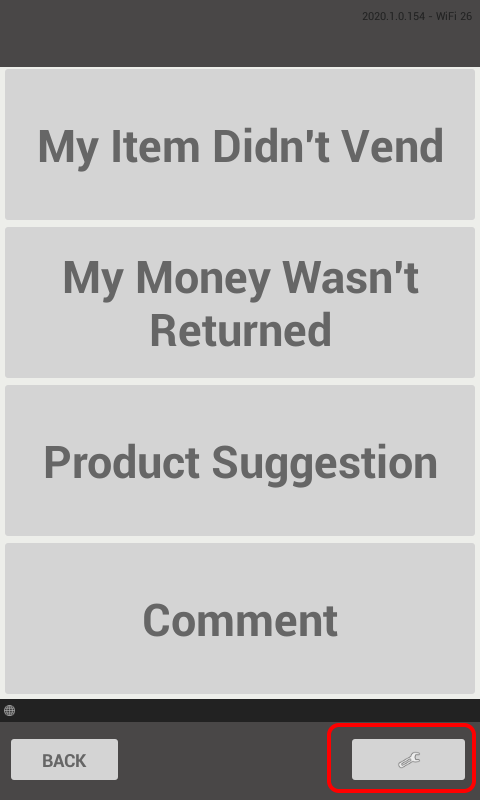
3. Click on the Wrench icon.
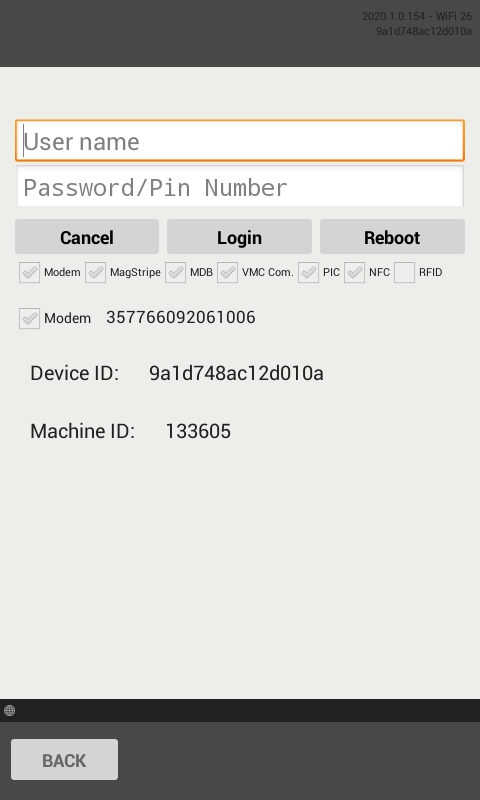
4. Login with your AV Live operator credentials.
Perform the OTA update
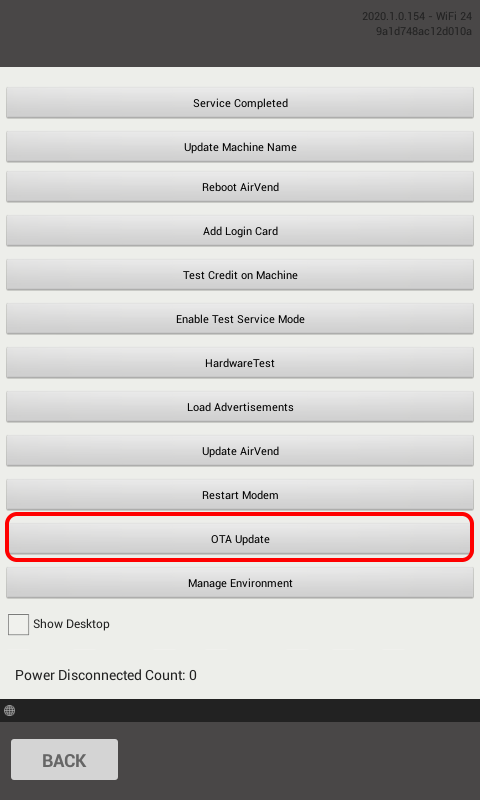
- After logging into the Admin Page, click OTA Update from the list of options.

- Wait a few seconds for the device to query the server for a new release.
- If there is an available update, click Upgrade.

- If the device is not connected to WiFi or if it is already up-to-date, you will see one of the following messages:

- If the device is not connected to WiFi or if it is already up-to-date, you will see one of the following messages:
- Wait for the device to download and install the update. Depending on connection speed, the update will take about 15 minutes to complete and will reboot multiple times.
OTA Update via USB
Although WiFi is preferable, the USB method can be used if no WiFi networks are available.
- Contact the AirVend Support team to receive a pre-loaded USB drive. A representative will put the necessary update files on a USB drive and ship them to your address.
- When the USB is arrives, plug it into the dongle on the back of the AirVend device as shown below.

- When the USB is installed, perform the same steps mentioned above in this document:
- Login to the Operator Admin page.
- Perform the OTA update.