Overview
SmartViewer is software that can be used to remotely view the cameras connected to a Samsung DVR. It is full-featured and can save settings for each DVR that you connect to. Before you can connect to any of your DVRs you will need to have Hamachi running. For more information, please see the Remote Camera Viewing Instructions article.
Setting Up SmartViewer
The most recent version of SmartViewer can be found at this address: Smartviewer - Hanwha Techwin - Video Management Software. On that page, scroll down until you see the RESOURCE DOWNLOAD section. Choose the software tab and click the download button to the right of it.

Once the SmartViewer zip file has been downloaded, find the download (most likely in your Downloads folder) and right-click the zip file.
In the menu that has popped up when you right-click on the zip file, you will find an entry titled "Extract All". Click Extract All.
Windows will then ask where you would like to download this file. Click Extract and then wait for the zip file to be extracted to the destination folder. In this example, the destination location is
C:||Users||username||Desktop||"SmartViewer software v4.5 (Full)_20141212"
Once the zip file extraction has been completed, the folder that it was extracted to may automatically open. If it does not, navigate to the folder that you designated the file should be extracted to.
Once in the extracted folder, click on "SmartViewerSetup" and follow the installation wizard until you have completed the installation process.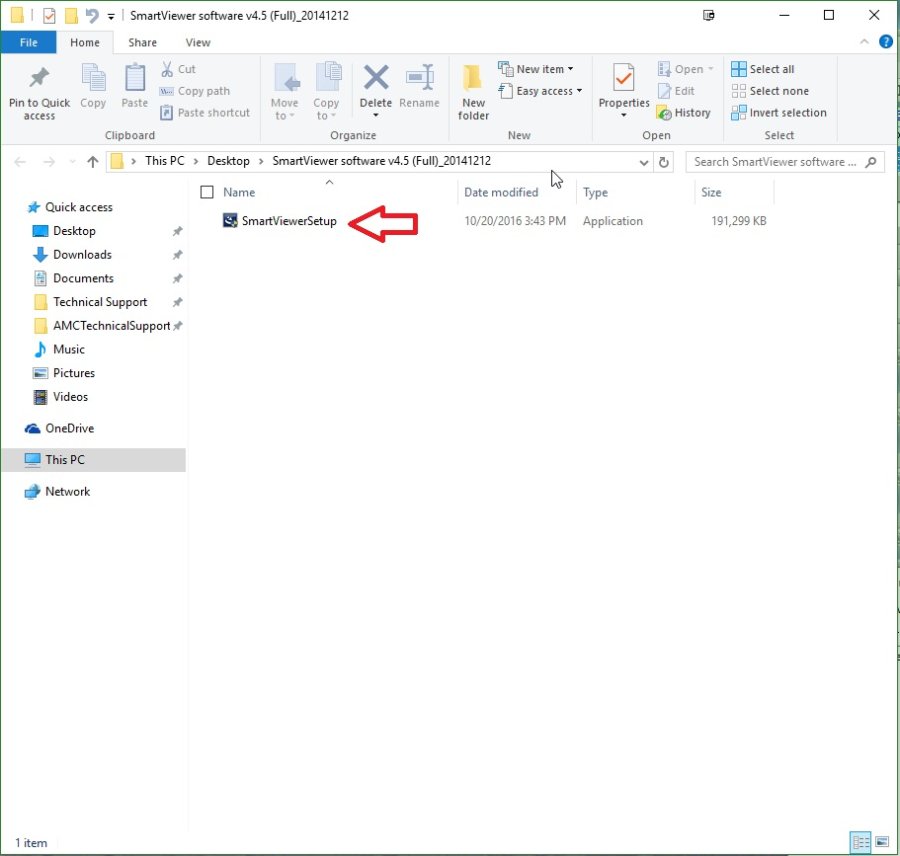
You will likely be prompted initially to authorize the installation. If so, please do so.
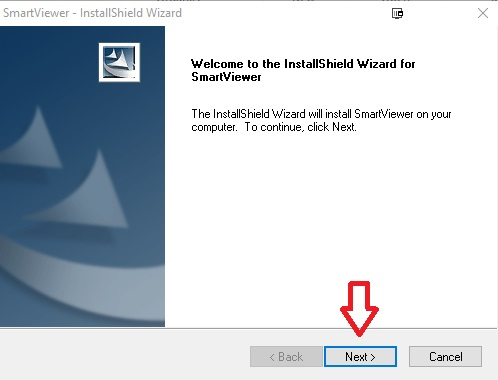
After providing authorization to install SmartViewer the SmartViewer Installation Wizard will load to guide you through the installation process. Start the process by clicking the "Next >" button.
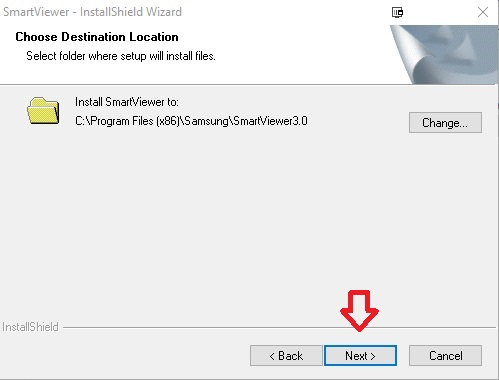
You will then be prompted to choose a destination folder for the SmartViewer application files. Your pc should already designate the installation folder as shown below, so we can hit the "Next >" button to choose to install to the C:|| drive.
After designating an installation folder you will be prompted to start the build of the application folder and files. Click the "Next >" button to start this.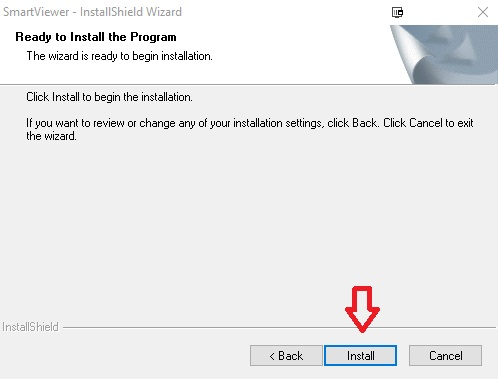
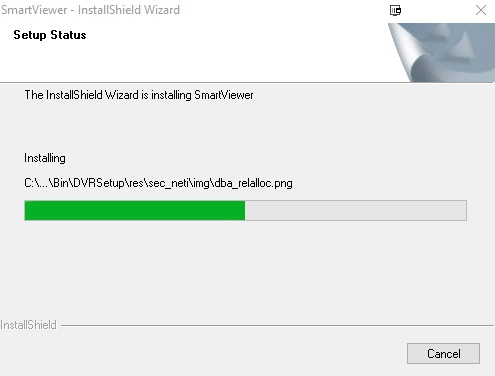
Finally, we have completed the installation process. Click "Finish" and the Installation Wizard will close.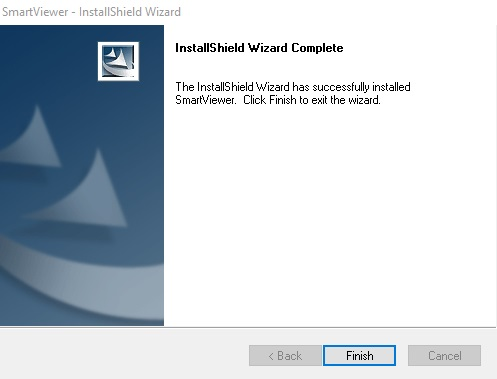
Launching SmartViewer for the First Time
After installing SmartViewer you should have a desktop shortcut and a start menu shortcut. Use one of these to open the application.
The first time you open SmartViewer you will be prompted to set up an admin password. This password is used to log into the application and does not need to match or affect the password for any of your DVRs. Please be sure to write this down as we will not have access to this password nor ability to reset it for you.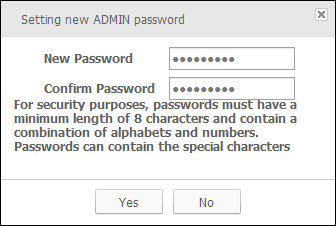
You can now use the username admin and the password you have created to log in to SmartViewer and connect to the DVR s in your Hamachi group.
Adding DVRs
Before adding DVRs you will need to have installed and be running Hamachi.
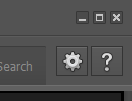
Click on the gear icon in the top right corner of the window to open the settings window.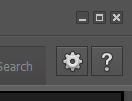
Click on the Device tab at the top of the window.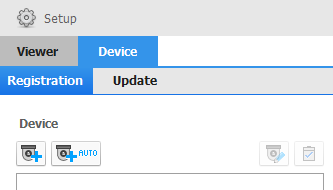
Click the Add DVR button. 
Enter the IP address for the kiosk you want to connect to as well as the device port 4520 and the ID is always admin and password according to the DVR model. For the Samsung SRD-440 the password is 4321. For the Samsung SRD-443 it is a1234567. If neither of those passwords worked, go ahead and try kiosk13579. Then click the Register button to save.
**If you are using a newer SmartViewer software version the Model Name will say "Wisenet DVR" not Samsung DVR**
If you are trying to access the cameras with the new DVR HRX-420, please view our other instructions here: Avanti - Setting up HRX-420 DVR in Smart Viewer
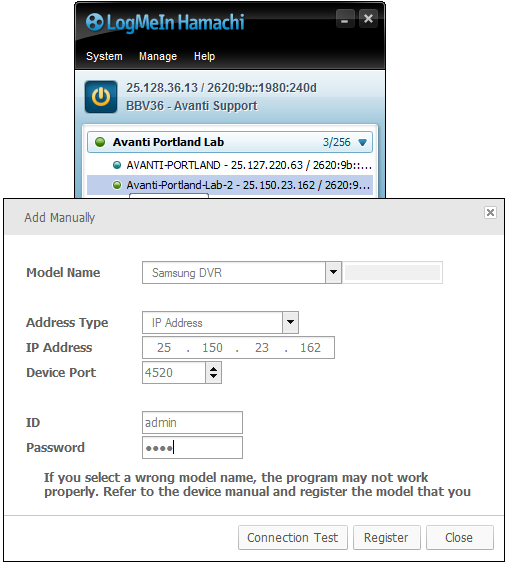
The DVR will now appear in the list of available devices in the top left corner of the main window.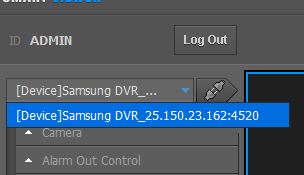
Naming Devices
You can give the DVRs easy-to-remember names. It is suggested that you do not change the entire name but rather add a word or two at the start.
Click the gear icon to open the settings menu and then click the Device tab. Select the DVR you want to edit and click the edit icon. 
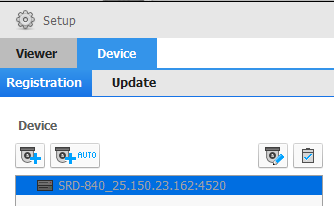
Make the desired changes then click Modify.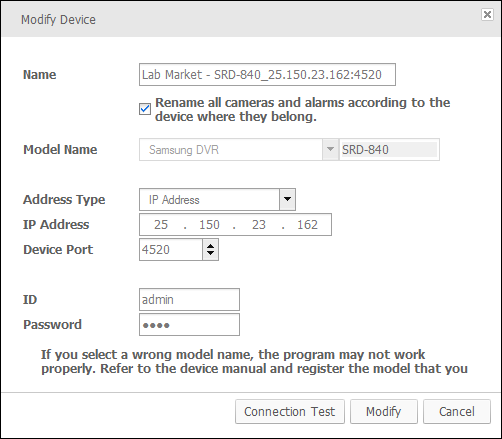
Backing up Devices
Click on the gear icon in the top right corner of the window to open the settings window.
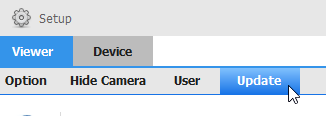
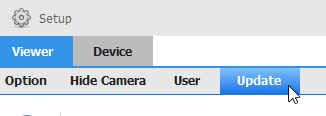
Click the Update tab in the setup window.
Check the Device box and click Export Configuration.
Save the file in a safe place.
Restoring Device from Backup
Click on the gear icon in the top right corner of the window to open the settings window.
Click the Update tab in the setup window.
Put a checkmark next to Device and click ... to choose the backup file that you created. Click Import Configuration to import it.
Using SmartViewer
Connecting to a DVR
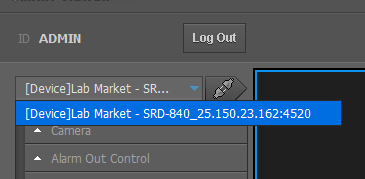
After you have added your DVRs they will appear in the drop-down menu in the top left corner of the window. After you select the DVR click the connect icon to start the connection. 
Reviewing Footage
Click the Search Tab in the top right of the main window after you have connected to the DVR you would like to review footage from.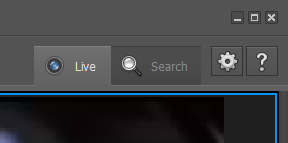
Use the calendar on the left to select the date and the time slider at the bottom of the screen to choose the time to review.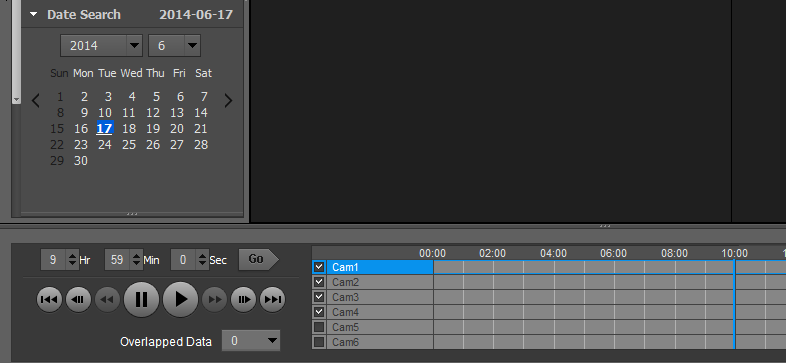
Exporting and Saving Footage
It is not recommended that more than a few minutes of footage be downloaded from a kiosk that is using a wireless internet connection as it will exceed the data cap, take a very long time and impact the performance of the kiosk. To save large amounts of footage it is recommended that this is done directly from the DVR in the kiosk using a portable USB storage device.
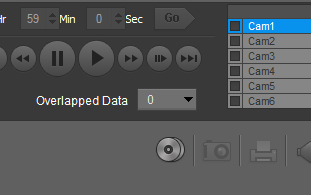
Before you back up footage you will need to determine the time frame you would like to back up. While in the search window and with the correct date selected click the backup icon along the bottom edge of the window. 
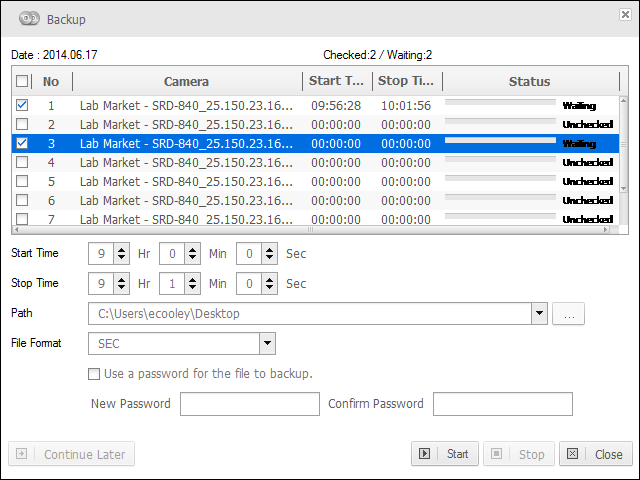
Specify the cameras and time frame to be downloaded.
Click the start button to begin the download.
The progress of the download will be displayed.

It will be saved to the path listed.
Two files will be created for every camera that is exported. The .dll file is used by the .exe file so make sure to include it if you are providing the footage to another party.
