Purpose
The purpose of this article is to outline various user administration processes within LightSpeed Administrator (LsAdmin).
Branches & Security
LsAdmin instances & user accounts are separated by branch. It is configured this way due to security concerns with gaining unauthorized access to other branches. Account access to other branches should only be granted once approved by an Admin from that other branch.
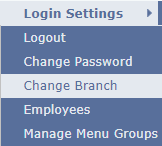
- You can change branches by navigating to Login Settings → Change Branch.
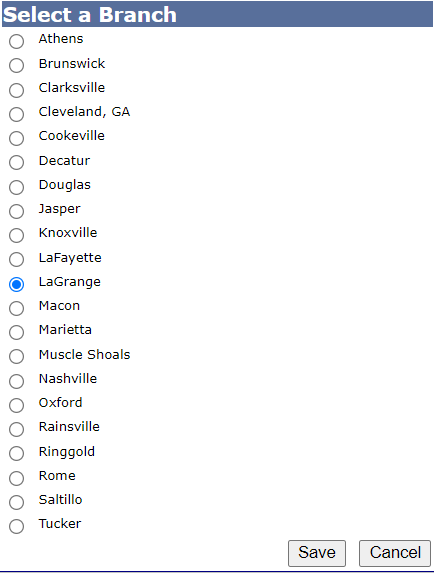
- Alternatively, you can click the current branch in the top-right. Then, click the branch you want to go to and click Save.

Creating & Editing an Account
- Log into the appropriate LsAdmin instance by following the instruction in the Accessing Lightspeed Administrator section.
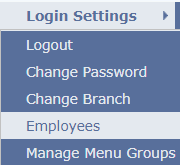
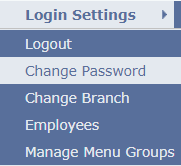
- Navigate to Login Settings → Employees.
- You will be presented with grid of employees already in the system. To create a new employee, click New on the top left of the grid.
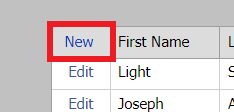
- To edit an account, click the Edit button to the left of their First Name.
- To edit an account, click the Edit button to the left of their First Name.
- A create employee window will pop up.

- The required fields are as follows:
- First Name
- Last Name
- Username
- Password
- Menu Groups (Permissions)
- Menu groups are created within the Login Settings → Manage Menu Groups section, and dictate which features are available in the various LsAdmin tabs.
- Menu groups are created within the Login Settings → Manage Menu Groups section, and dictate which features are available in the various LsAdmin tabs.
- The required fields are as follows:
- If it is enabled, Order Selection will be a selectable option during account creation or edits. It is used to allow pickers to choose their own orders to pick, rather than them being auto-assigned.
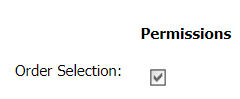
- To enable or disable Order Selection for a particular branch, navigate to that branch and then go to Lightspeed Settings → Pick Zone Edit and toggle it on or off per zone.
- To enable or disable Order Selection for a particular branch, navigate to that branch and then go to Lightspeed Settings → Pick Zone Edit and toggle it on or off per zone.
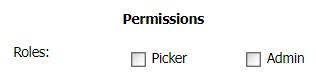
- Next, a role should be chosen based on the designation of the employee.
- Warehouse managers typically get both the Picker and Admin roles.
- Warehouse managers typically get both the Picker and Admin roles.
- Click Update to finish creating the account.
Changing Passwords
To change the password of the account that is currently logged in, follow the below steps:
- Log into the appropriate LsAdmin instance by following the instruction in the Accessing Lightspeed Administrator section.
- Navigate to Login Settings → Change Password.
To change the password of another account, follow the below steps:
- Log into the appropriate LsAdmin instance by following the instruction in the Accessing Lightspeed Administrator section.
- Ensure that you are in the correct branch by following the steps in the Branches & Security section.
- Navigate to Login Settings → Employees.
- Search for the account and click Edit the left-hand side of the table.
- From here, you can edit the password by filling out the Password & Confirm Password fields.
- To save the account, click Update on the bottom right corner of the edit window.
Unlocking Accounts
- Log into the appropriate LsAdmin instance where the locked account is located.
- Ensure that you are in the appropriate branch that the locked out account is located in.
- Navigate to Login Settings → Employees.
- If an account is locked, you will see an Unlock Account option on the right-hand side. Click it to unlock the account.
- The page may flash, but the Unlock Account button may still be there. In order to update your view, you must navigate to Login Settings → Employees once again.